


Sourdough Hot Cross Buns
with Cointreau Soaked Sultanas

Hi.
Some of you probably didn’t expect this comeback after almost 6 months of silence. I am happy to report that I am alive and well. A lot has changed since my last newsletter, but I decided to continue writing this newsletter as if no time has passed.
One of the reasons why I stopped sharing recipes was the fact that I wasn’t happy with the visual aspect of this newsletter (recipe photos, not the design. I adore the design thanks to Domen and Tereza).
Recipe development, testing, and writing all take a lot of time and a lot of thought. But the photos are taken instantly, by my phone, sometimes hundred identical shots of the same dish, which doesn’t feel right. So I started playing with the idea of analog photography since this is something I’ve been doing for years, taking photos of my partner, friends, dogs, and food. After procrastinating for a few months (it was winter to be fair), I finally picked up my old camera and started cooking.
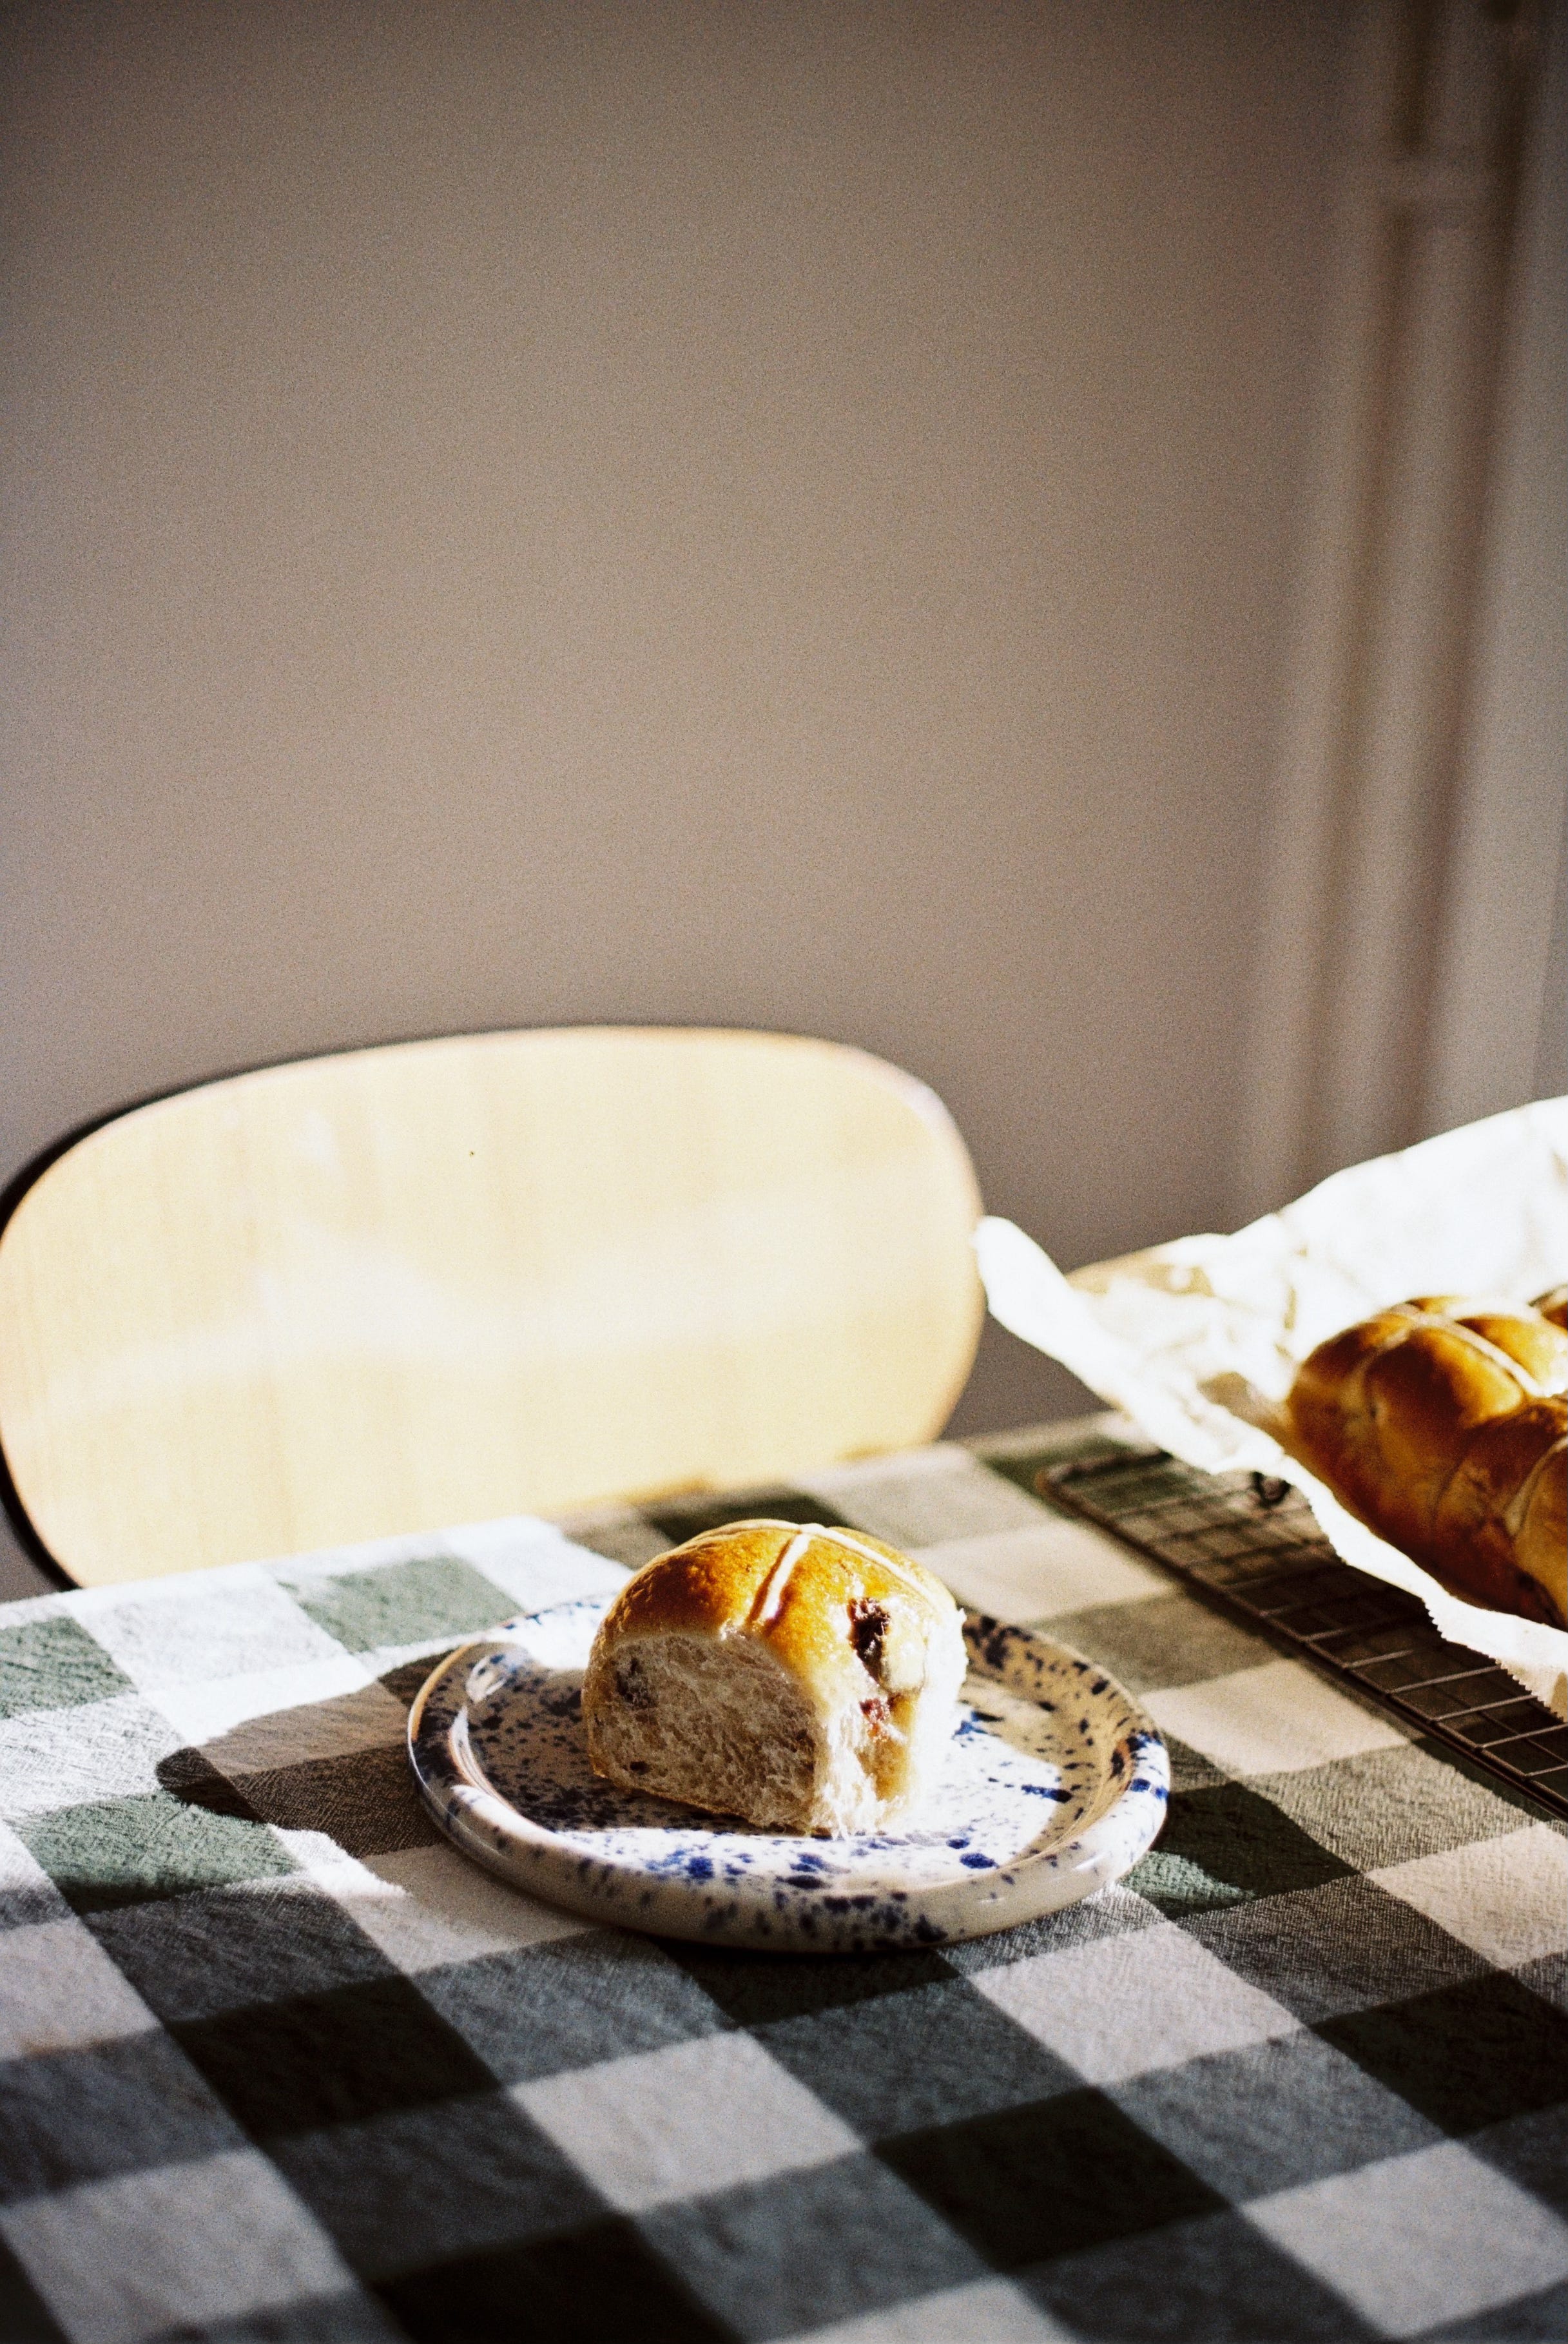
I decided that Sourdough Hot Cross Buns are the perfect comeback recipe. These fluffy, aromatic buns are one of my favorite desserts/snacks/bread-y things to eat and bake. I usually make them every couple of months, except at Easter, when it’s actually socially acceptable to eat a whole tray of them in one sitting. The dough is easy to make, and the buns are uncomplicated to shape. All that is required of you is some time and patience.
This dough uses a sourdough starter, but that can be swapped for 7 g of quick-acting dry yeast/21 g of fresh yeast. This swap will affect the rising time, which means you’ll be able to mix, rise, shape, and bake the buns in less than 24 hours. But I still prefer doing it the longer way with a sourdough starter.
The amount of cinnamon might seem very small for this type of bread, but there is a reason behind it. Cinnamon has antifungal and antibacterial properties that slow down yeast and make the rising time painfully long (had to learn that the hard way). After some tests, I’ve come to the conclusion that 1/4 tsp cinnamon allows for ‘normal’ rising times and still adds a nice flavor. Feel free to switch things up, and add different dried fruits, chocolate chips, nuts, or citrus zest.
Ingredients
Sourdough starter
10 starter
60 g water
60 g plain white flour
Orange Juice-Soaked Raisins
120 g raisins (I do a mix of Sultanas and Golden)
4 tbsp orange juice
1 tbsp Cointreau or Rum
Hot Cross Bun Dough
100 g active starter (the one you fed the night before)
500 g plain white flour (I use what we call Typo 500 in Slovenia, but also tried making it with Manitoba and it worked great)
250 g cold plant-based milk (the mixing process is quite long and we want to prevent dough temperature from rising too much - this would affect the gluten and break the gluten strands, resulting in a loose, watery dough that doesn’t hold shape)
150 g white granulated sugar
1/4 tsp ground cinnamon
3/4 tsp ground all spice
1/4 tsp fine salt
zest of 1 orange (around 2 tbsp)
100 g plant-based butter (I use Naturli)
For the Cross
2 tbsp plain flour
1 tbsp 1 tsp water
“Egg wash”
1 tbsp maple syrup
2 tbsp plant-based milk
Glaze after the baking
3-4 tbsp maple syrup
Equipment
Kitchen scale
Measuring spoons
Microplane or fine grater
Pastry brush
Small mixing bowls (for soaking raisins, cross paste and “Egg wash”)
Stand mixer, or a large bowl and strong hands muscles
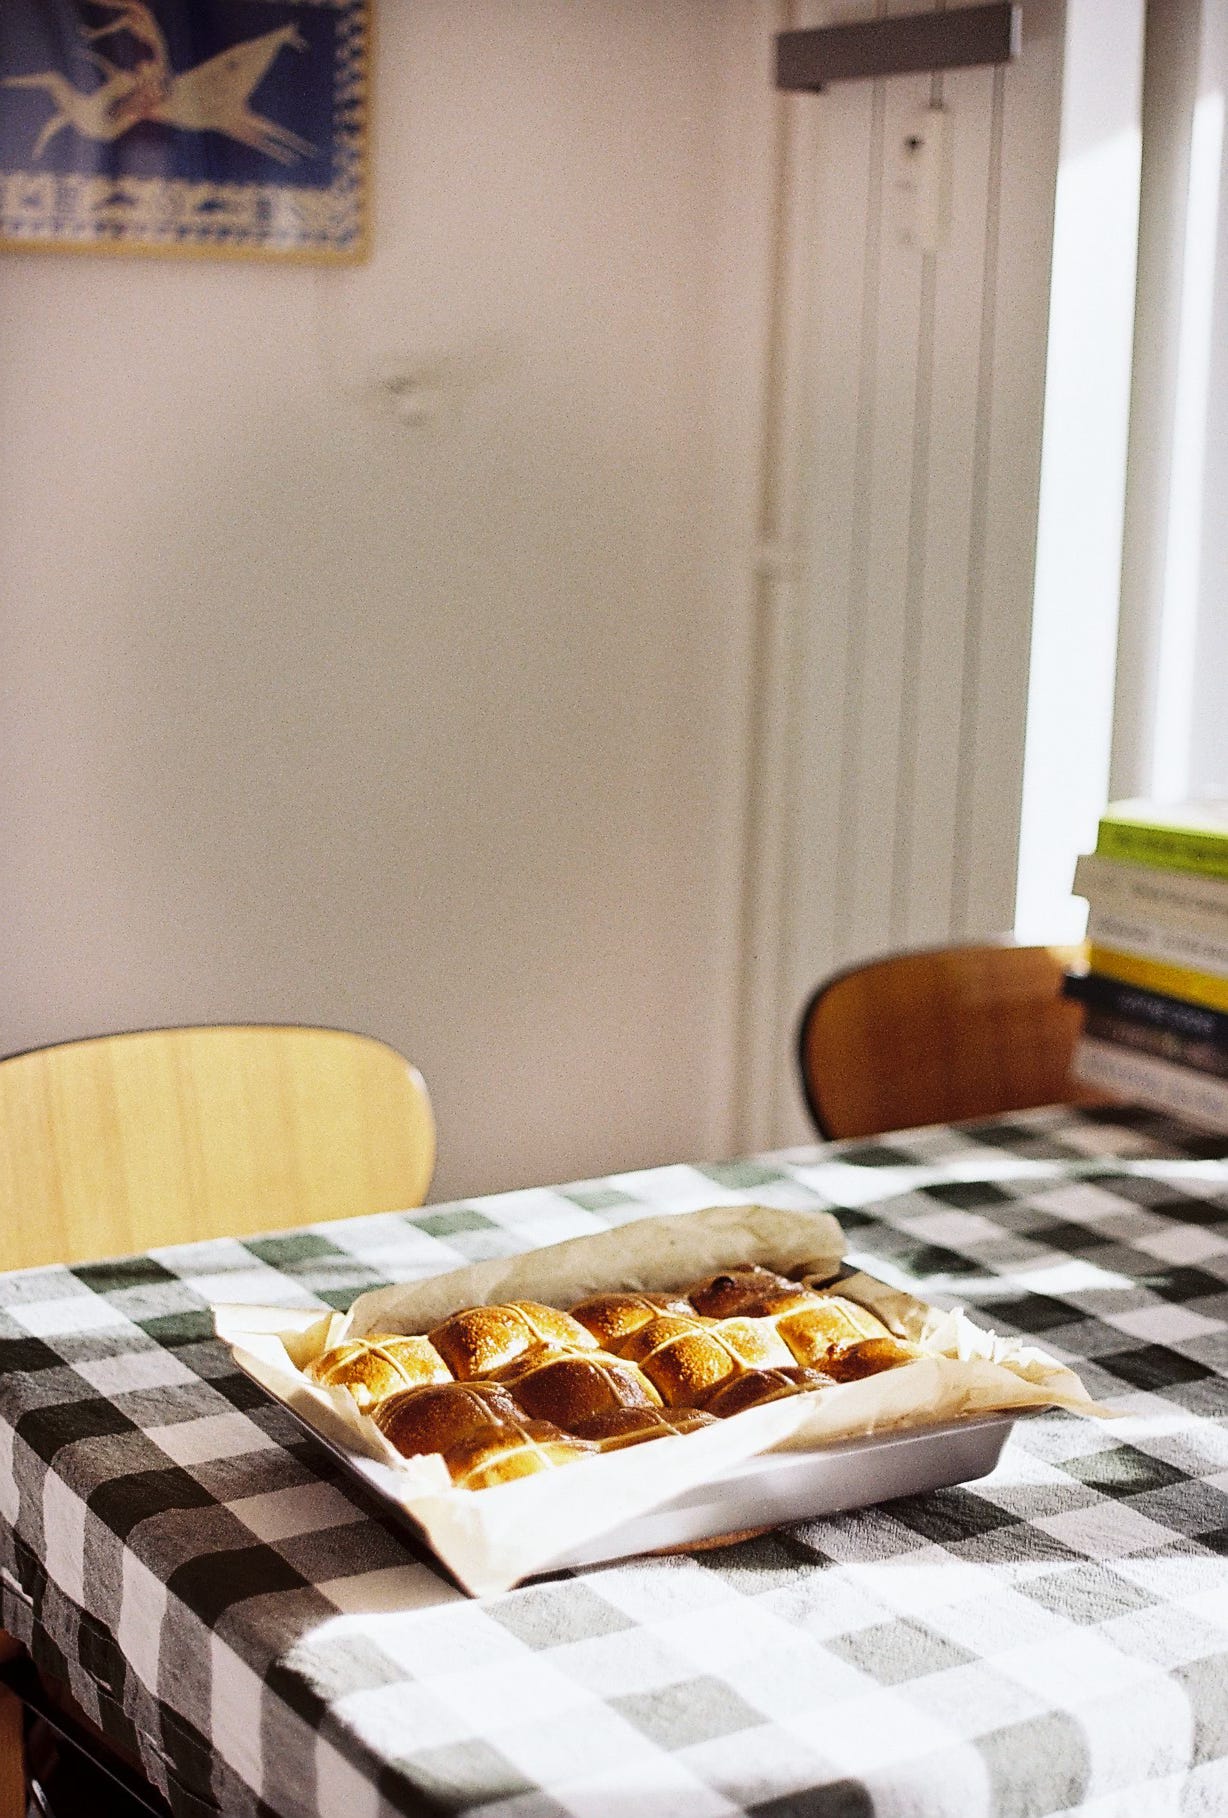
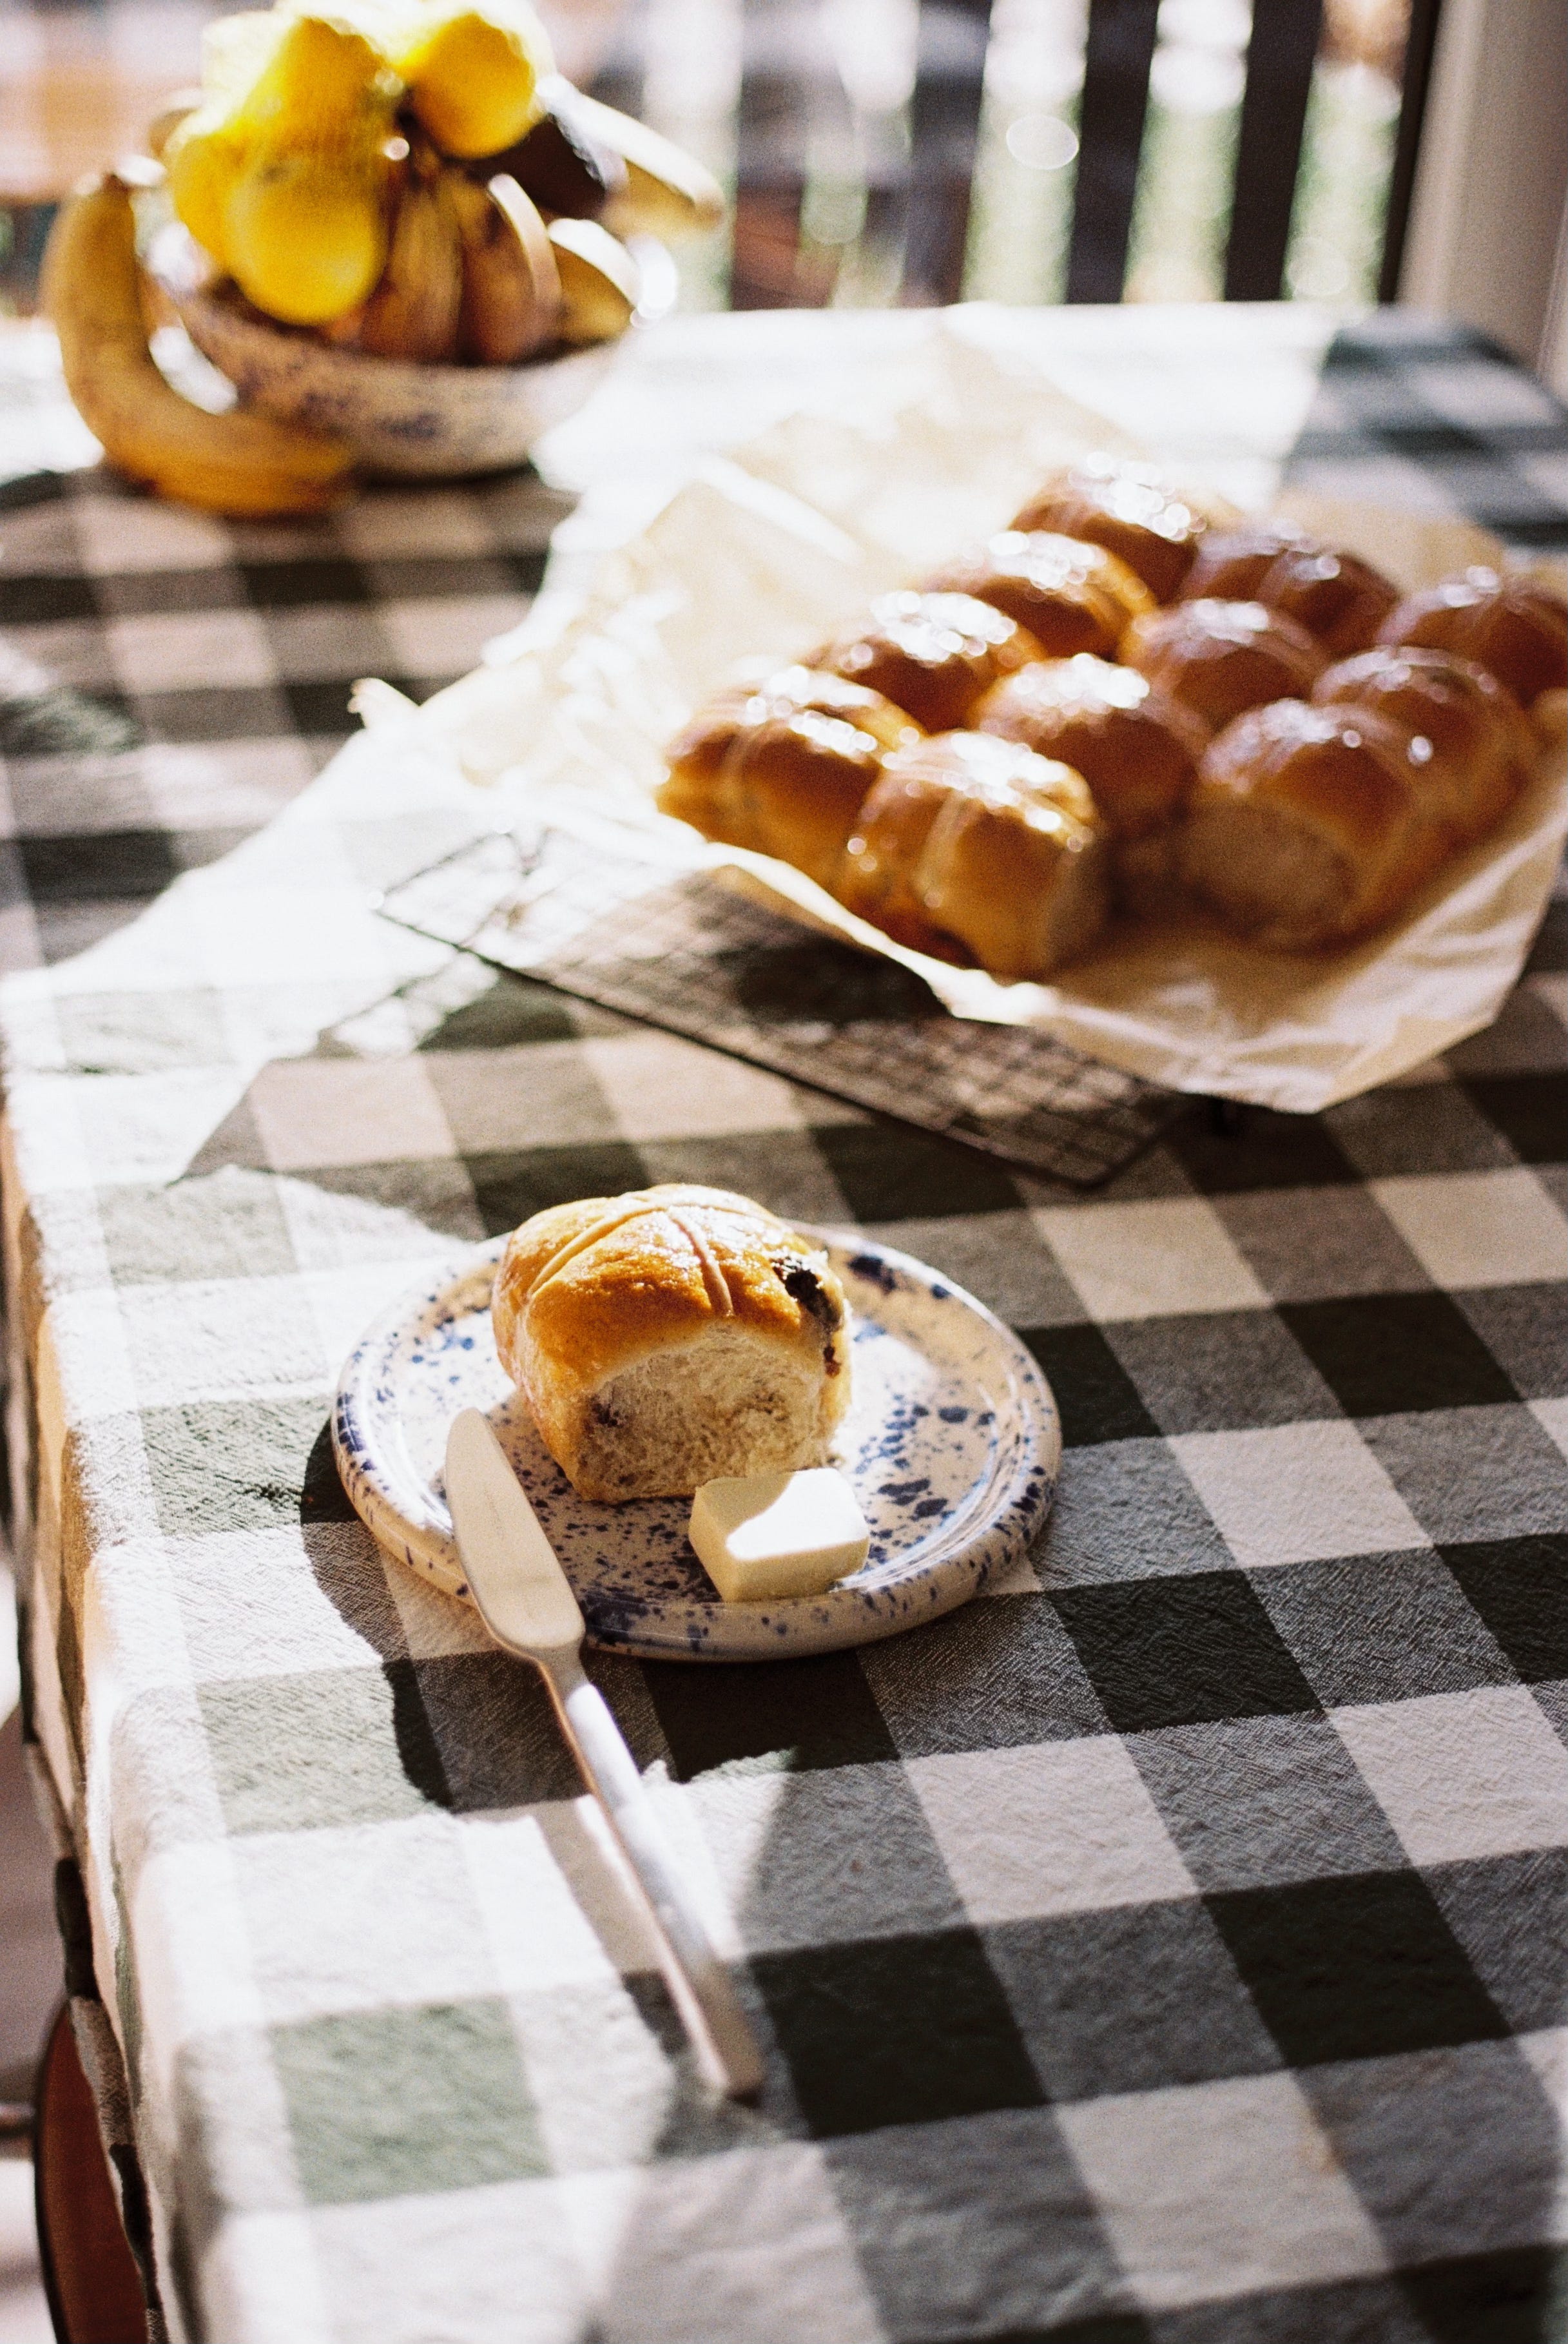
Roasting pan or a baking tray (I use a 36 x 27 cm roasting pan which gives you squishy, square-shaped buns, but you can use a larger baking tray and space them out evenly so they retain their round bun shape and bake individually).
Method
Day 1
Sourdough Starter
The night before, feed your starter in the following ratio: 10 g active sourdough (that you’ve been feeding for the past 2—3 days and it’s ready to bake), 60 g cold water, and 60 g plain white flour.
Orange Juice-Soaked Raisins
The night before (if you remember), combine raisins, orange juice, and Cointreau/Rum.
Place in the fridge and let soak overnight.
Day 2
Hot Cross Bun Dough
In the morning, mix all the dough ingredients, except butter, in a bowl of a stand mixer.
Start the mixing process on a low speed (I have a Kitchen Aid Classic Stand Mixer and I do it on settings 1-2). Let the dough knead for 8—10 minutes. We want to develop the gluten well before adding fat. The dough might seem a bit stiff, but will soften once we add butter and soaked raisins (they both add moisture to the dough). What we are looking for is a very smooth ball of dough.
Once the dough is smooth, slowly add cubes of cold butter in three rounds. Add more butter once the previous round is fully incorporated. The dough will start to stick to the sides, but don’t worry, it will come back together. The whole process will take around 7—8 minutes. Once all the butter is incorporated, bring the mixer speed up (4-6 on Kitchen Aid Classic) to bring the dough together.
Strain soaked raisins and add them to the dough. You might need to stop the mixer and move the dough around the bowl/remove it from the hook to ensure even distribution of raisins throughout the dough. Mix until all the raisins are incorporated, and the dough starts to move from the bowl and wraps around the hook. This will take around 4—5 minutes.
Transfer the dough to a clean surface. Bring it together using your hands and bench scraper until you get a nice, smooth ball of dough.
Lightly flour the dough and transfer it into a large container with a lid.
Let the dough rise for 8—10 hours in a warm place (ideally around 28°C) until doubled in size. I like to preheat the oven to 30°C for 3—4 minutes, then turn it off, place the container on the middle rack, and close it. If your place is cold, the dough might need 10—12 hours to double in size.
Once you are happy with the rise, transfer the container into the fridge overnight (or balcony/windowsill, if the nights are cold enough).


Day 3
Shaping & Baking The Buns
The next morning, transfer the dough to a clean surface and divide it into 12 equal pieces. Each piece should weigh around 100-110g. The dough shouldn’t be very sticky, but feel free to dust it with some flour.
Shape each piece of dough into a nice round ball. Flour your hands lightly. Start by flattening the dough and pushing out all the air (this will remove tiny bubbles that have formed during the first rise, encouraging a second rise and nicer shape). Bring the edges to the center, pinch them together, turn them upside down, and place them on the surface. Cup the ball with your dominant hand and move it in a circular motion (you don’t have to be super gentle) until you are happy with the shape. This will create surface tension and seal the bottom of the bun. Use your floured hands to transfer the bun onto a parchment-lined baking dish/tray. Repeat with the rest of the dough.
Cover baking dish/tray with plastic wrap/clean plastic bag.
Let the dough rise for 4—5 hours in a warm spot (again, I preheat the oven for a couple of minutes, place the buns on the middle rack and close it. Once the oven cools down I repeat the preheat). The buns should double in size. You can check if the buns are ready by poking them with your finger. If the dough springs back quickly, they’re under-proofed. If it springs back slowly, they are ready.
Preheat the oven to 180°C(356°F) (fan or convection setting).
Mix plant-based milk and maple syrup to create “Egg Wash”. Brush the buns evenly.
Mix flour and water to create a paste. Transfer to a piping bag, cut away the end to create a small hole, and pipe the paste onto the glazed buns to create a cross shape on each bun. * Save the rest of the paste and use it to feed your sourdough to reduce food waste.
Bake at 180°C (356°F), on the middle rack, for 23—25 minutes until evenly browned.
Remove from the oven a brush with maple syrup.
Transfer to a cooling rack and let cool down to room temperature (if you have that kind of self-control) before tearing apart and slathering in butter.


I hope you’ll enjoy this recipe! For any additional questions, please don’t hesitate to comment, message me on Instagram, or send a good old email.
Talk soon, x.
Glad to see you back! And thanks for sharing the tip about cinnamon's antifungal & antibacterial properties. Btw, your pics are beautiful, including those taken with a phone 🩷